USB Arcade Joystick using a Minimus 32
Sparkfun and their various resellers offer arcade style joysticks and buttons. I put them together to make a controller for MAME and such.
↑Parts
Joystick
The joystick I got was this, which turns out to be a Seimitsu LS-32 clone made by ZIPPYY. Most sparkfun resellers seem to only sell the short-shaft version, which is really too short if mounting to anything thicker than a few milimeters. Hardboard is fine, the 12mm pine I originally tried really isn't. This shop sells the longer version, which would have been a better bet had I known. They also have diagrams of the base plate which are very handy.
Minimus
A cheap AVR development board that I have a page about. I used the Minimus 32 here but will probably switch to the cheaper one at somepoint.
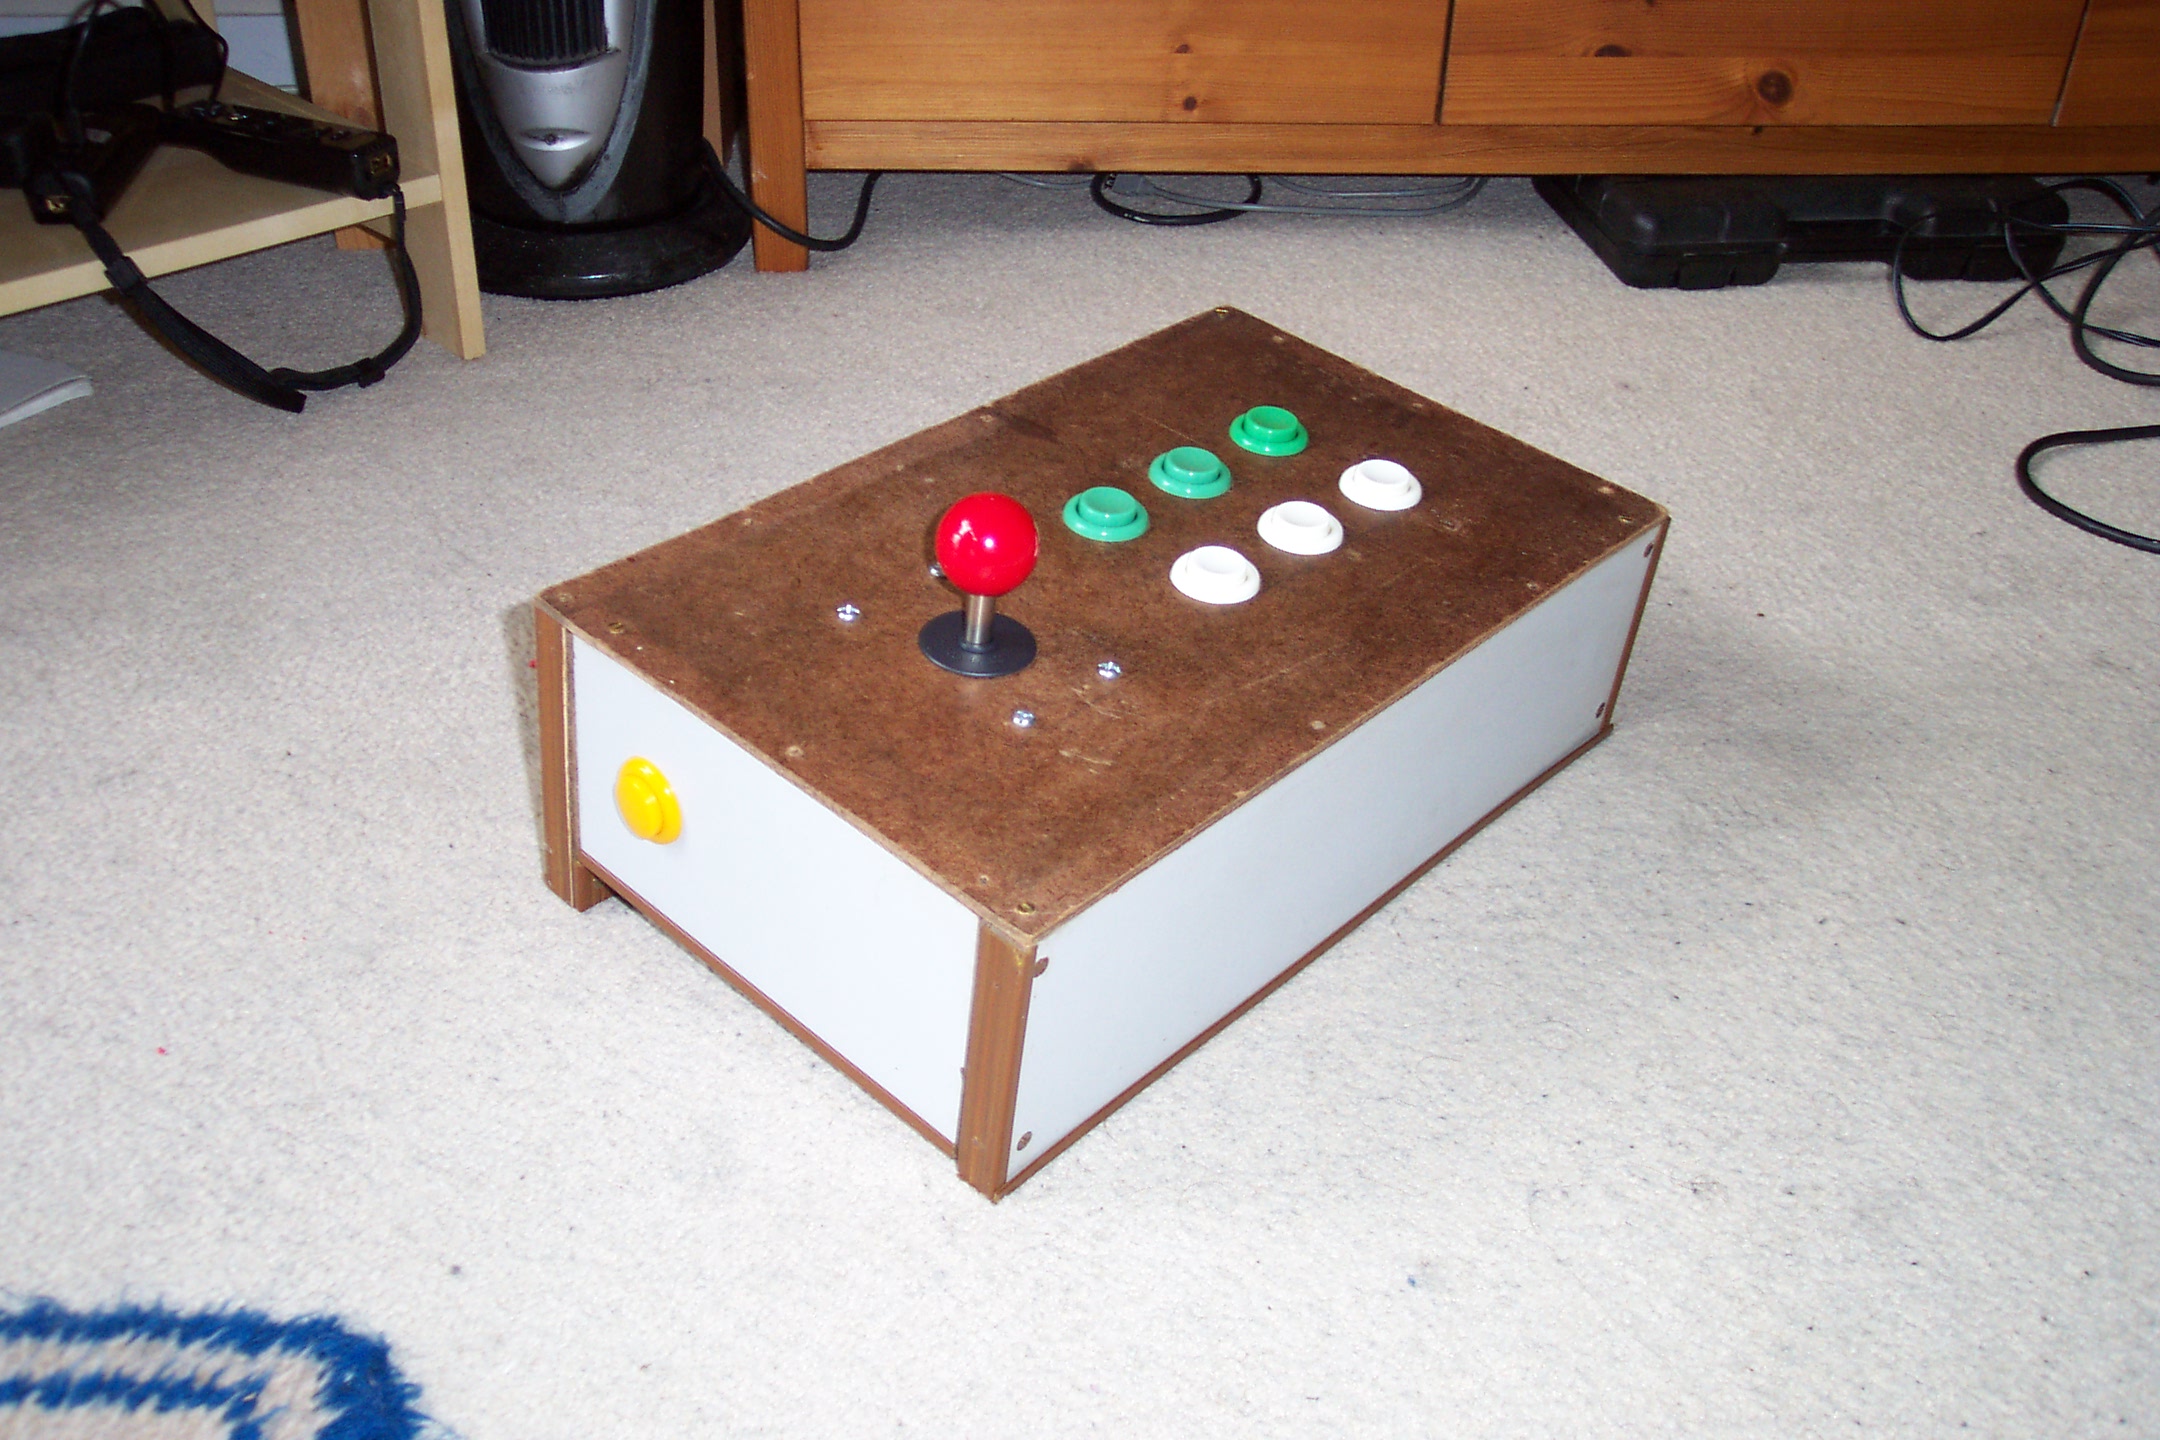
↑Assembly
Case
Whilst skip-raiding for a bit of hardboard to mount everything through, I came across a hand-made draw that was exactly the right size and design. So this bit was pretty easy. Thanks, anonymous furniture assembler! The base is a rectangle of chipboard with a hardboard base screwed on. A bit of a rubbish draw, but perfect here.
I planned out the layout first using inkscape, which you can download here. This also shows how the base is constructed. The rear edge is taller than the others, presumably this was as a handle but it tilts the joystick slightly towards you, and gives space for the USB cable to come out.
Software
The source code can be found at https://github.com/lentinj/usb-arcade-joystick/
The firmware is a slightly modified version of LUFA's joystick demo program. By default the demo tries to use the built-in controls of whatever board it's being compiled for---a Minimus doesn't have a joystick, so compilation out-of-the-box fails. We instead use a custom button and joystick drivers, using PB0--7 for button inputs and PC4--7 for the joystick directions. The button inputs are debounced using a vertical counter. The joystick didn't seem to need it, so no debouncing was added there.
Wiring
The wiring is dead simple, since the chip has built-in pull-up resistors. Connect each switch to the relevant port and ground. i.e. Button 1--8 attach to the minimus' PB0--PB7 pins, joystick directions to PC4--7, and then the other end of all the buttons go to GND. The joystick and more expensive buttons have 'lucar' blade terminals which you can buy connectors for instead of soldering directly. The buttons fit perfectly, you may need to squish the connector slightly for a snug fit.

Testing
The 'joystick' package in Debian includes a program called 'jstest', which gives you a simple display of joystick values. Plug the joystick in and watch dmesg, you should see something like:
usb 2-1.2: new full speed USB device number 12 using ehci_hcd
usb 2-1.2: New USB device found, idVendor=03eb, idProduct=2043
usb 2-1.2: New USB device strings: Mfr=1, Product=2, SerialNumber=0
usb 2-1.2: Product: LUFA-Powered Arcade Joystick
usb 2-1.2: Manufacturer: lentinj Industries
input: lentinj Industries LUFA-Powered Arcade Joystick as /devices/pci0000:00/0000:00:1d.0/usb2/2-1/2-1.2/2-1.2:1.0/input/input14
generic-usb 0003:03EB:2043.0006: input,hidraw0: USB HID v1.11 Joystick [lentinj Industries LUFA-Powered Arcade Joystick] on usb-0000:00:1d.0-1.2/input0
Then use jstest to ensure the buttons are all working and the right way around:
# jstest /dev/input/js0
Driver version is 2.1.0.
Joystick (lentinj Industries LUFA-Powered Arcade Joystick) has 2 axes (X, Y)
and 8 buttons (Trigger, ThumbBtn, ThumbBtn2, TopBtn, TopBtn2, PinkieBtn, BaseBtn, BaseBtn2).
Testing ... (interrupt to exit)
Axes:  0:     0  1:     0 Buttons:  0:off  1:off  2:off  3:off  4:off  5:off  6:off  7:on
You're now ready to go play games!